- Published on
How to create a backup of a WinCC project?
- Authors
- Name
- Michael Groncki
- @dergroncki


First of all, stop the runtime and close the WinCC project and explorer in question.
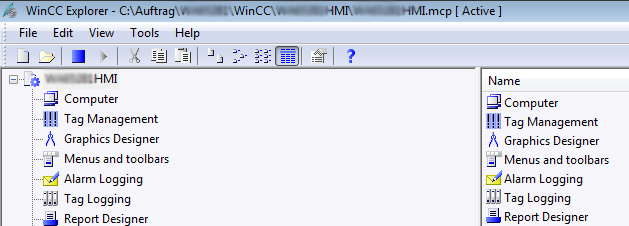
To stop the WinCC runtime change to the WinCC explorer by means of "Alt-tab" or open the WinCC explorer if it is closed. Use the toolbar to stop the runtime.
Click on the blue rectangle to stop the runtime.

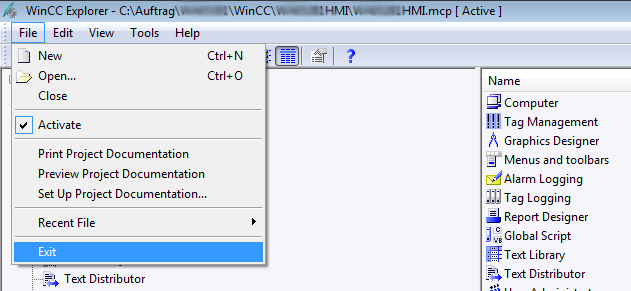
Afterward close the WinCC project and explorer.


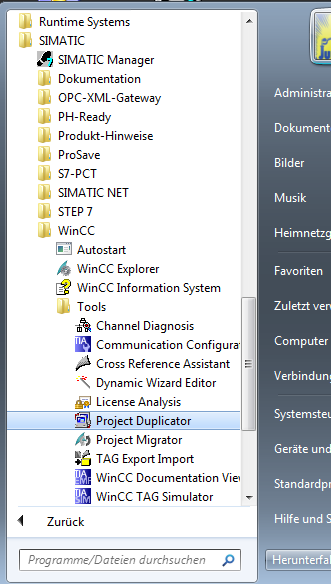
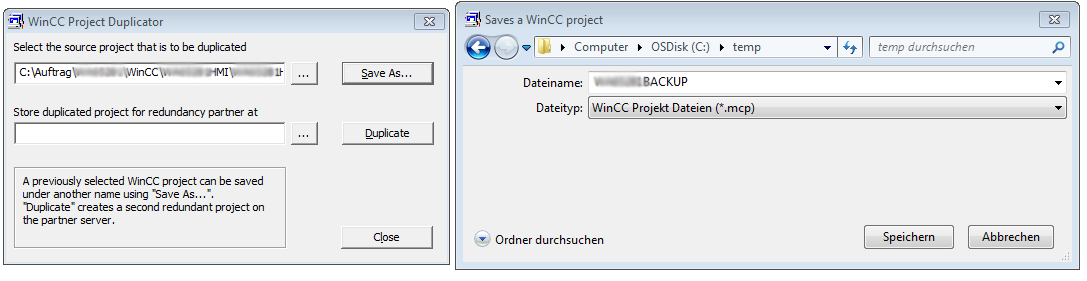
From the Windows Startmenu open the WinCC Project Duplicator.

By means of the project duplicator we will save the WinCC Project with a new name e.g. "PROJECT-NAME-BACKUP". The advantage is that no archives are saved to the backup. Therefore, the size of the backup will be much smaller.


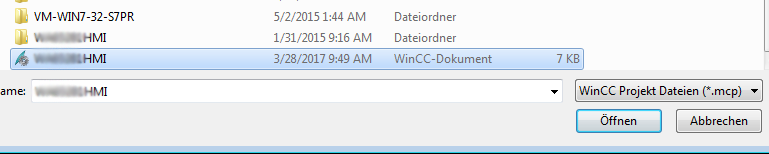
Click on the "..." button to find and select the WinCC Project we want to backup. In case there is only one project on the computer the selection dialog will be prepopulated with it.

Now click on "Save As..." and select a target folder for the backup e.g. "c:\temp". Create the folder if it not exist. Enter a name for the backup e.g. "PROJECT-NAME-BACKUP" and click "Save". The project will be saved to the selected folder with the entered name.

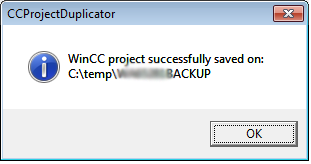
If everything went well you will see the following messages of the duplicator:

In the end zip the saved WinCC Project and copy it to an usb stick or external backup drive.